
Monday, 30 September 2019
Do you want to restore the gorgeous and luxurious look of those old pieces of furniture? Would you love to bring back their original style and bring a special look to your room? Pieces of furniture are a great addition to any home. They add lush and luxury to the home.
However, as these pieces start to get old, they tend to lose their luster and beauty. If you want to give back its new look and keep the authenticity of your old furniture, you can restore it.
By restoring your furniture, you simply want to enhance the natural beauty of the wood and accentuate its authenticity. To obtain a perfect result and a unique finish, there are certain factors to bear in mind.
The following steps will assist you in the sanding and finishing of your furniture to give back its original look.
Step #1: Sweep and clean
Before anything, it is mandatory to clean your furniture to take off any grease or wax. To do so, we recommend the use of a specially-adapted degreaser that will not damage your furniture and will clean it adequately.
The step is a prerequisite to the next step which is stripping. However, please note that if you plan to sand a bare wood, you don’t need to clean it.
Step #2: Stripping
If your furniture is not a bare wood (i.e. already has finishes, waxes or paint coats) and you want to change the color, you will need to strip it. Stripping will allow you to remove the previous layers without damaging the wood. The method may vary depending on the coating type.
So, for waxed furniture, you need to use a dewaxer. But if your furniture is finished or painted, you may use a finish remover or you sand it.
When you start the stripping, make sure you work in a ventilated room. Protect your hands and eyes as the removers are chemicals and are usually concentrated and corrosive.
First, you need to dismantle the drawers and doors of your furniture and tape the iron parts with adhesive to keep them intact.
However, if your furniture is not too damaged, simple un-polishing and 2 coats of finishes will be enough to restore the natural look and luxury.
Warning: If you have a waxed piece of furniture, do not use a remover!
The furniture you want to restore is waxed? Never use a remover but a dewaxer – a product especially conceived to remove the old wax coats. A dewaxer also removes the embedded dirt.
Step #3: Restore and repair
The old pieces of furniture are often victims of time and usage. They have gone through many rough conditions over their time of usage. This is why it is important to look for any holes, scratches or cracks after the stripping.
However, do not panic as these small imperfections are often easy to repair. To patch the small scratches and get back a smooth surface, opt of a wood smoother. For deeper holes and cracks, the wood filler is better.
Step #4: The sanding
Once the little imperfections are repaired, you will move to the sanding step. This step enables you to sooth the surface and to allow a better adherence with the new finish. However, if you only have the intention to remove the old finish, this step is unnecessary.
Before sanding, make sure your furniture doesn’t have any stain. For sanding, use a 120-sand paper and make sure to sand your piece in the wood grain direction to avoid marks.
Step #5: Prepare your material and your piece of furniture
It is now time to prepare your material for finishing or painting. Start by mixing the product you will be using with a stick to make it homogenous and let it sit for a few minutes. Cover your room with a plastic material to protect it during finishing.
Regarding the applicator, we recommend that you use a 10 mm applicator without sharpie roller. You may also use a paintbrush with synthetic hair or a finish applicator if the piece of furniture is large.
Pay additional attention before you move to the next step. We recommend that you observe a product test by using a non-visible part to test the adherence and the color of your product on your furniture. This means that you should first apply the product on the less visible part of your furniture before you finally apply it on the whole furniture to check its efficiency.
Step #6: Paint, stain and/or finish
There are many options available for you depending on the style you want to give to your piece of furniture. If you want to bring warmth to your room, keep the natural color and finish it to give it some sparkle. But you may also paint it to make it match the style and colors of your room.
Paint: if you choose to give a personal look to your furniture by painting it, you may choose among a wide range of colors. If you are finishing a piece of furniture in a kitchen or bathroom, it is better to opt for waterproof and heat-resistant paints.
Before you start painting, take off the handle and keep them safe to prevent paints from coating its surface. If you are applying many layers, make sure the interval between each coat does not exceed 48 hours. Once you are done with painting, you will need to wait for many days for the furniture to become dry.
Finish: Whether you decide to paint or keep the natural color; it is always recommended to varnish your piece to have a smoother look and a sparkling finish. Here again, you have different luster options to choose from including gloss, semi-gloss, satin and matte finish.
You should choose a durable and easy-to-apply finish. There are also many eco-friendly finishes available on the market.
Apply the first coat of finish with a flat paintbrush or a roller in the wood-grain direction. Make sure you smooth the lines to have a uniform finish and allow the paint to rest for 2 to 3 hours to dry before applying the next coat.
Wax: If you want an old and traditional look, the wax is the ideal choice. It will offer a high-end and elegant effect by enhancing the wood. Wax can be applied with a paintbrush once the surface is swept and sanded.
However, make sure you don’t pour any liquid on your waxed piece of furniture as the wax doesn’t offer any protection.
Stain: If you want to keep the nice wood aspect, it is better to opt for a stain that will enhance the wood grain of your furniture. Here as well, you will have to choose among a wide variety of colors. However, this option, the stain, must always be protected with a coat.
Final thoughts
Now that you are well-informed about the various steps involved in wood restoration, it is time to give those pieces of furniture in your home an elegant and luxurious look. If you are confused and wondering which kind of product you should use for your project, here is a great recommendation!
Finitec products are tested and trusted wood finishing materials that do not only help you restore your old pieces of furniture but also add lush and elegance to it. Use the Finitec’s products and see how easy it is to give back your wooden furniture their nice look. For question, inquiry, or bulk purchase, feel free to contact our experts at 1-888-838-4449.
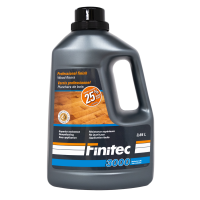 Finitec 3000
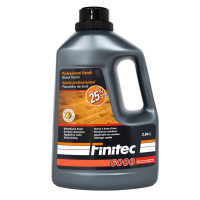 Finitec 6000
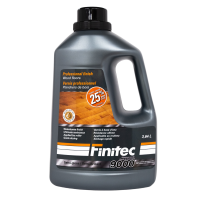 Finitec 9000
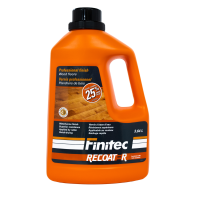 Finitec Recoater
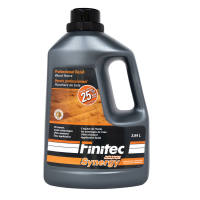 Finitec Synergy
 Microban antimicrobial finish
 Solidex
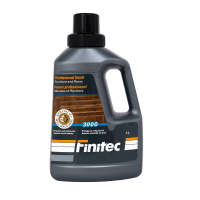 Finitec 3000
 Finitec 6000
 Finitec Recoater
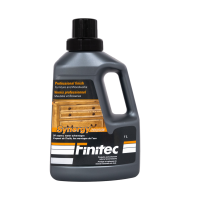 Finitec Synergy
 Microban antimicrobial finish
 Surface Preparation
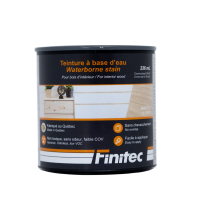 Water based stain
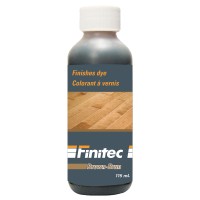 Woodfloor Finish Dye
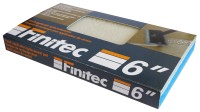 Applicator refills
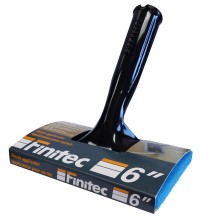 Finish applicator
 Finitec Sanding Machine
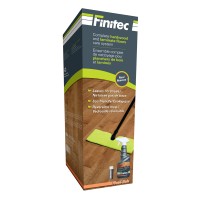 Complete care system for wood and laminate floors
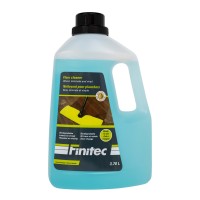 Laminate wood floral breeze floor cleaner 3.78L
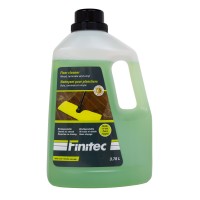 Laminate wood mint floor cleaner 3.78L
 Ultra concentrated cleaner for wood and laminate floor maintenance
 Wood and laminate floor cleaner
 Ceramic joints cleaner
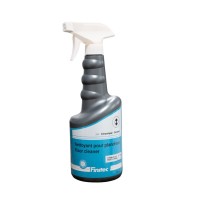 Cleaner for ceramic floors
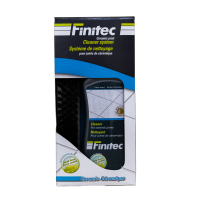 Complete care system for ceramic joints
 Ultra concentrated cleaner for ceramic floors
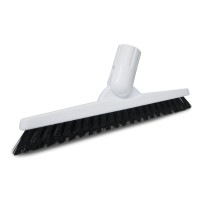 Ceramic joints cleaning brush
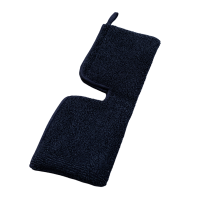 Reversible replacement mop cover
 Velcro replacement mop cover
 Age-Tech
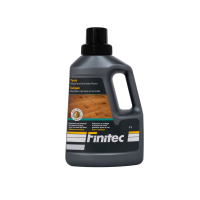 Tonic vinyl, ceramic, wood and laminates floors
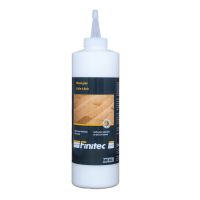 Wood glue
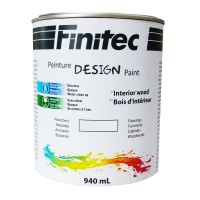 DESIGN Paint
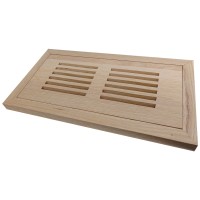 Flush mount
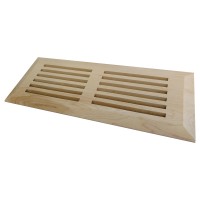 Top mount
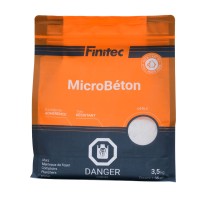 MicroConcrete
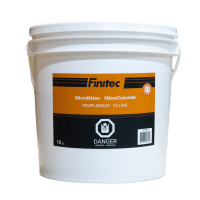 MicroConcrete filling
 MicroConcrete sealer
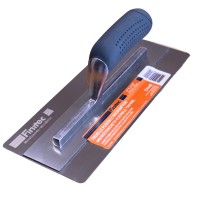 MicroConcrete Flexible Trowel
 17 in Pad_thick
 17 in Pad_thin
 Ceramic abrasive belt
 Ceramic edger disc
 PSA adhesive roll
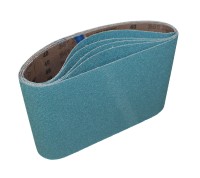 Zirconium abrasive belt
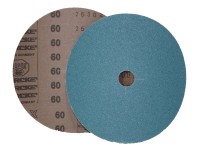 Zirconium edger disc
 EX-1
EX-1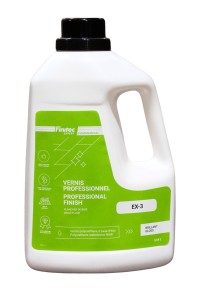 EX-3
EX-3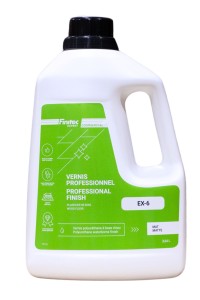 EX-6
EX-6 EX-DUO+
 EX-HYBRID
 EX-TECH
 EX-PRIME
 Finish dye
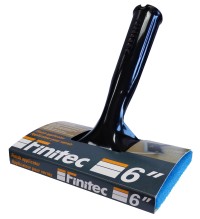 Finish applicator
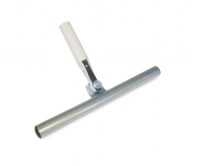 Finish applicator (T-bar)
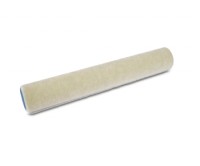 Replacement finish applicator (T-bar)
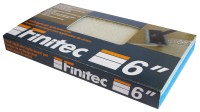 Replacement pad finish applicator
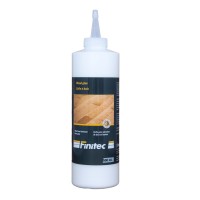 Wood glue
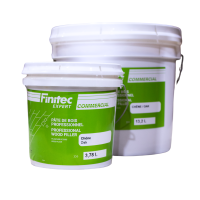 Wood patch
 EXTRA+
 SURFACE Treatment
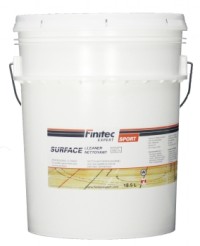 SURFACE Care
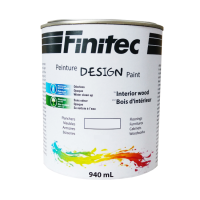 DESIGN paint / SURFACE Color
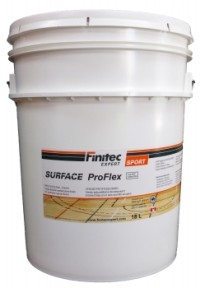 PROFLEX SURFACE sealer
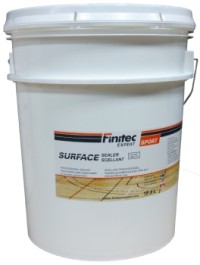 SURFACE Sealer
 TOP SURFACE finish
 Industrial lacquer