Floor finish
The Finitec Tonic in 2 easy steps!
Contact our Customer service for more information
Les différentes
étapes à suivre
-
![Step 1]()
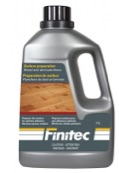
Step 1 Finitec Surface Preparation
- Vacuum in order to eliminate dust and dirt on the floor.
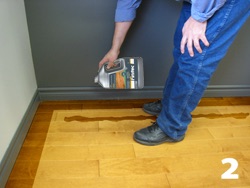
- Pour a small quantity of Finitec Surface Preparation on the floor.
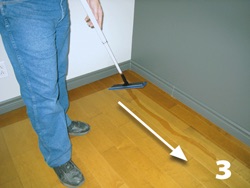
- Spread on a 50 sq. ft. (5 m²) area at a time using the Finitec applicator.
- Let work for 5 minutes.
- Wipe out all residues with the Finitec mop or damp cloths and rinse the surface 2 to 3 times with warm water.
- A second application may be necessary to remove all residues.
-
![Step 2]()
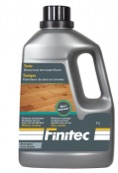
Step 2 Finitec Tonic
Shake well and wait a few minutes to allow bubbles to break. Proceed first to an adherence and compatibility test on a hidden area.
-
![Step 2 - 1]()
Soak the applicator with the Finitec Tonic and apply carefully on the edges of the surface to finish.
Note: This step is not mandatory. -
![Step 2 - 2]()
Pour a line of Finitec Tonic directly on the floor following wood or laminate planks.
-
![Step 2 - 3]()
Soak the applicator with the Finitec Tonic and slowly drag the applicator keeping it at a 45° angle to always bring the excess liquid towards the untreated section.
Note: the applicator is leaning towards its front part and the back is slightly lifted from the ground during the whole operation. The application must be executed in a continuous movement.
Do not apply any pressure on the applicator; the movement must be soft and easy. The surface should have a wet look. -
![Step 2 - 4]()
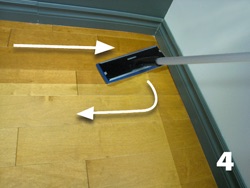
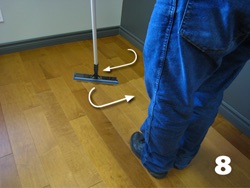
At the end of the row, do not raise the applicator and turn it in a half-circle and continue the application going the opposite direction on a distance of approximately 12 inches (30 cm).
-
![Step 2 - 5]()
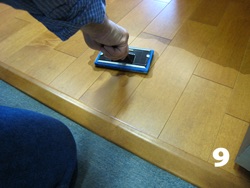
Before continuing in the other direction, apply pressure on the applicator to squeeze out liquid and lean the applicator to the wall and execute a fly off motion.
-
![Step 2 - 6]()
Follow the same procedures for the rest of the surface.
-
![Step 2 - 7]()
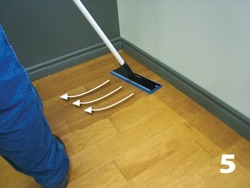
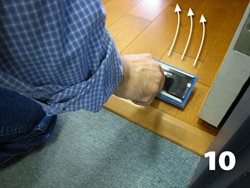
At about 15 to 30 inches (38 to 76 cm) of the wall, turn 90° and apply the two rows at the same time perpendicular to plank by bringing the liquid back towards you while moving to the door.
-
![Step 2 - 8]()
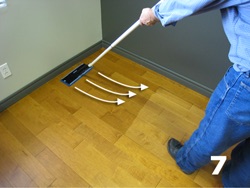
As you are not following the wood boards anymore, don't forget to smooth out marks and lines.
Note: Avoid to retouch a section that started to dry, because it can leave visible marks. Even if you see small streaks or marks, they will disappear during the drying process. -
![Step 2 - 9]()
Apply a light pressure on the applicator in order to squeeze out the excess of liquid.
Note: if needed, remove the remaining Finitec Tonic and put it in a container. -
![Step 2 - 10]()
End the application in front of the door by smoothing out gently the marks and the lines by doing the fly off movement.
-