Wednesday, 30 September 2020
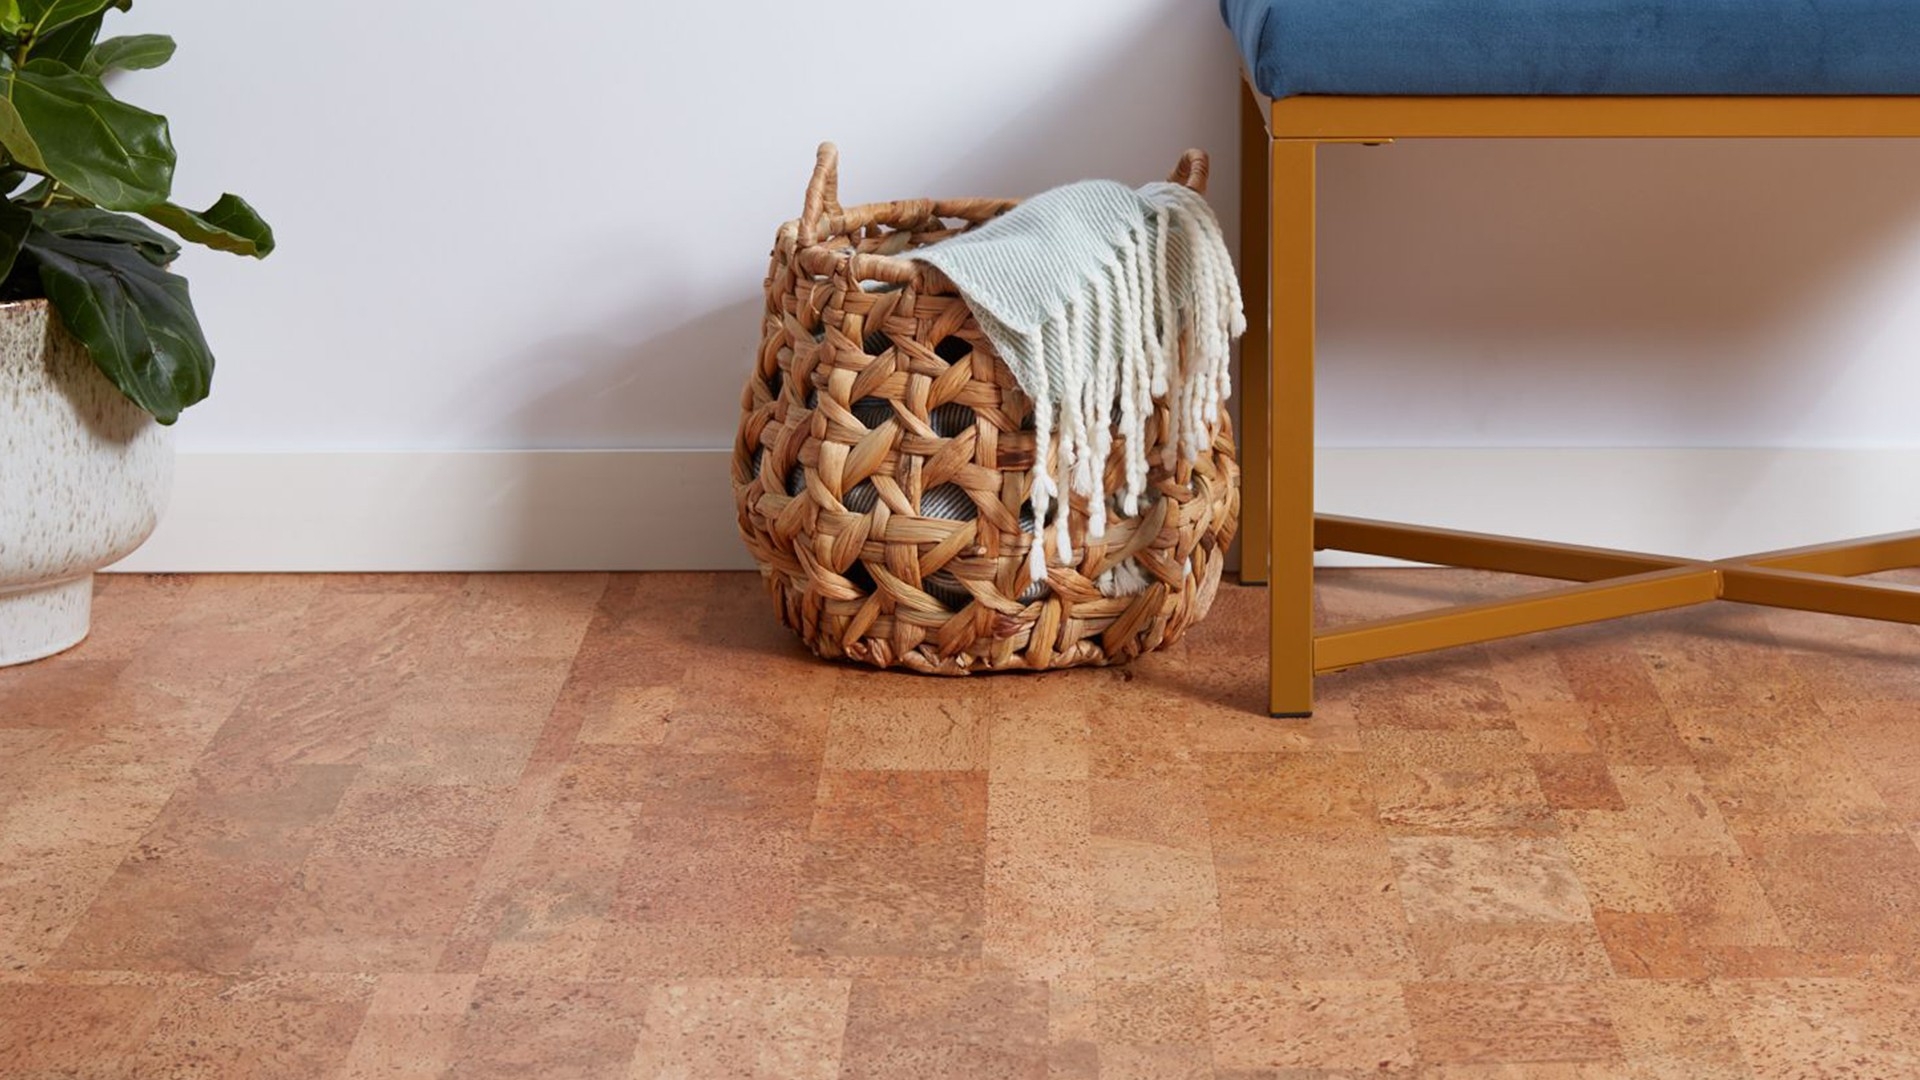
If you have ever had a cork floor in your home, then you know, despite all of its great properties over time, your floors become scratched and show significant signs of use. In other words, it is time to do some work to repair them!
No problem! Did you know cork floors can be refurbished? In fact, it is even more cost effective than replacing them.
The most important part of the process is to make sure that a finish has been applied. When cork floors are manufactured, the finishing process is usually done at the manufacturing step with a water-based finish or a hard oil finish. If it is made with a hard oil, you can just re-coat it with another hard oil. If your finishing was done with a water-based finish, then you can restore it.
Convinced? Let us show you how to step-by-step.
First, ensure the floor is well glued to the subfloor. If you see a bubble that could has developed over time, simply use a small glue syringe to inject the glue under the bubble. Once the glue is applied, make sure to add some weight to get the cork to adhere to the subfloor. The syringes are sold by the unit or in a kit in most of the hardware stores.
Once the repairs and preparation of the floor is complete, you may start the restoration. This part is actually very simple. If you’ve already restored hardwood, then you are a seasoned vet, as it is the same process.
Follow the steps below to refurbish your cork floor.
Step 1 – Surface Preparation
- Vacuum to remove the dust and abrasives on the floor.
- Pour a small quantity of degreaser on the floor. If you want a non-toxic and efficient product, use Finitec’s Surface Preparation product that works incredibly well.
- Spread on a 50 sq. ft. (5 m²) area at a time using the Finitec applicator.
- Let work for 5 minutes.
- Wipe out all residues with the Finitec mop or damp cloths and rinse the surface 2 to 3 times with warm water.
- A second application may be necessary to remove all residues.
Step 2 - Unpolish
- With a small rotating sanding machine, (they can be found in most hardware stores that carry Finitec products,) unpolish the surface.
- This step is used to maximize the adhesion between the cork and the finish.
Step 3 – Finish application

Contouring the room
In order to promote a clean and impeccable application, it is recommended to contour the room, that is to say to start with the edges first. This step is not required, but recommended.

Pour the varnish
Next, pour the varnish directly on to the floor, in the direction of the slats of wood.

Soak the varnish applicator and start the application
The third step is to soak the varnish applicator, then pull it slowly towards you. Pull in the direction of the wood slats and holding the applicator flat on the floor, at a 45 ° angle to allow the excess Finitec varnish to flow over the non-varnished part. The application is carried out in a continuous movement without exerting pressure. The floor surface should have a wet appearance.

Change direction
Once you’ve reached the end of the floor in one direction, do not lift the varnish applicator, but rather continue the motion in the other direction over a distance of about 12 inches (30 cm).

Remove excess liquid before continuing
Once you’ve reached the end, and before continuing in the other direction, apply some slight pressure on the end of the applicator to remove any excess liquid and smooth the streaks by lifting the applicator at the end of the movement.

Follow the diagram above for a flawless finish
Continue until the entire surface has been covered.

Go back towards the door
At about 15 to 30 inches (38 to 76 cm) from the wall, turn 90 ° and apply the varnish in the opposite direction of the wood slats by pulling the applicator towards you. Then, continue the process towards the door.

Do not forget to smooth out the streaks
Finally, do not forget to smooth out the streaks. It is important, however to avoid touching up on a part that has started to dry because the edges remain visible. If you notice that there are slight streaks or marks on the wet surface, they will disappear during drying.

Remove the excess liquid again
Apply light pressure to the applicator to remove excess fluid.

Finish the application
Finish the application and smooth the streaks gently towards the already covered part.
For a better resistance, we recommend to apply 2 coats of finish. You only have to start over the process at the room contouring step.
To watch the application method in video, it's here:
Voilà! If you have any questions, regarding steps in the process or product recommendations, feel free to contact our customer service at 888-838-4449. They are industry experts and will know how to properly answer your questions.
Good luck with your renos!