Monday, 23 March 2020
If your question is:
‘'Hi, is it possible to apply your product to restore a small part of my floor without having to do the whole room? I have an area on my floor that has lost its luster because of the friction of a rolling chair. Thank you’’
The answer is ‘’yes’’. Yes, you can. However, restoring a small part of the room may cause a slight difference between the two areas for a short period. Don’t worry, it’s normal. Over time and with several clean ups, everything will become uniform again.
Here are the steps to follow:
1 – Thoroughly prepare the floor. Meaning, vacuum the entire room and clean your floor with a Surface Preparation.
This product will eliminate any contaminant, grease or substance that could have accumulated over time.
As for cleaning, I’d suggest you clean the part that will not be restored as well. As your floor will be clean of any dirt, it will look shinier and this will allow a better match with the finished part.
Make sure to follow the manufacturer’s recommendations
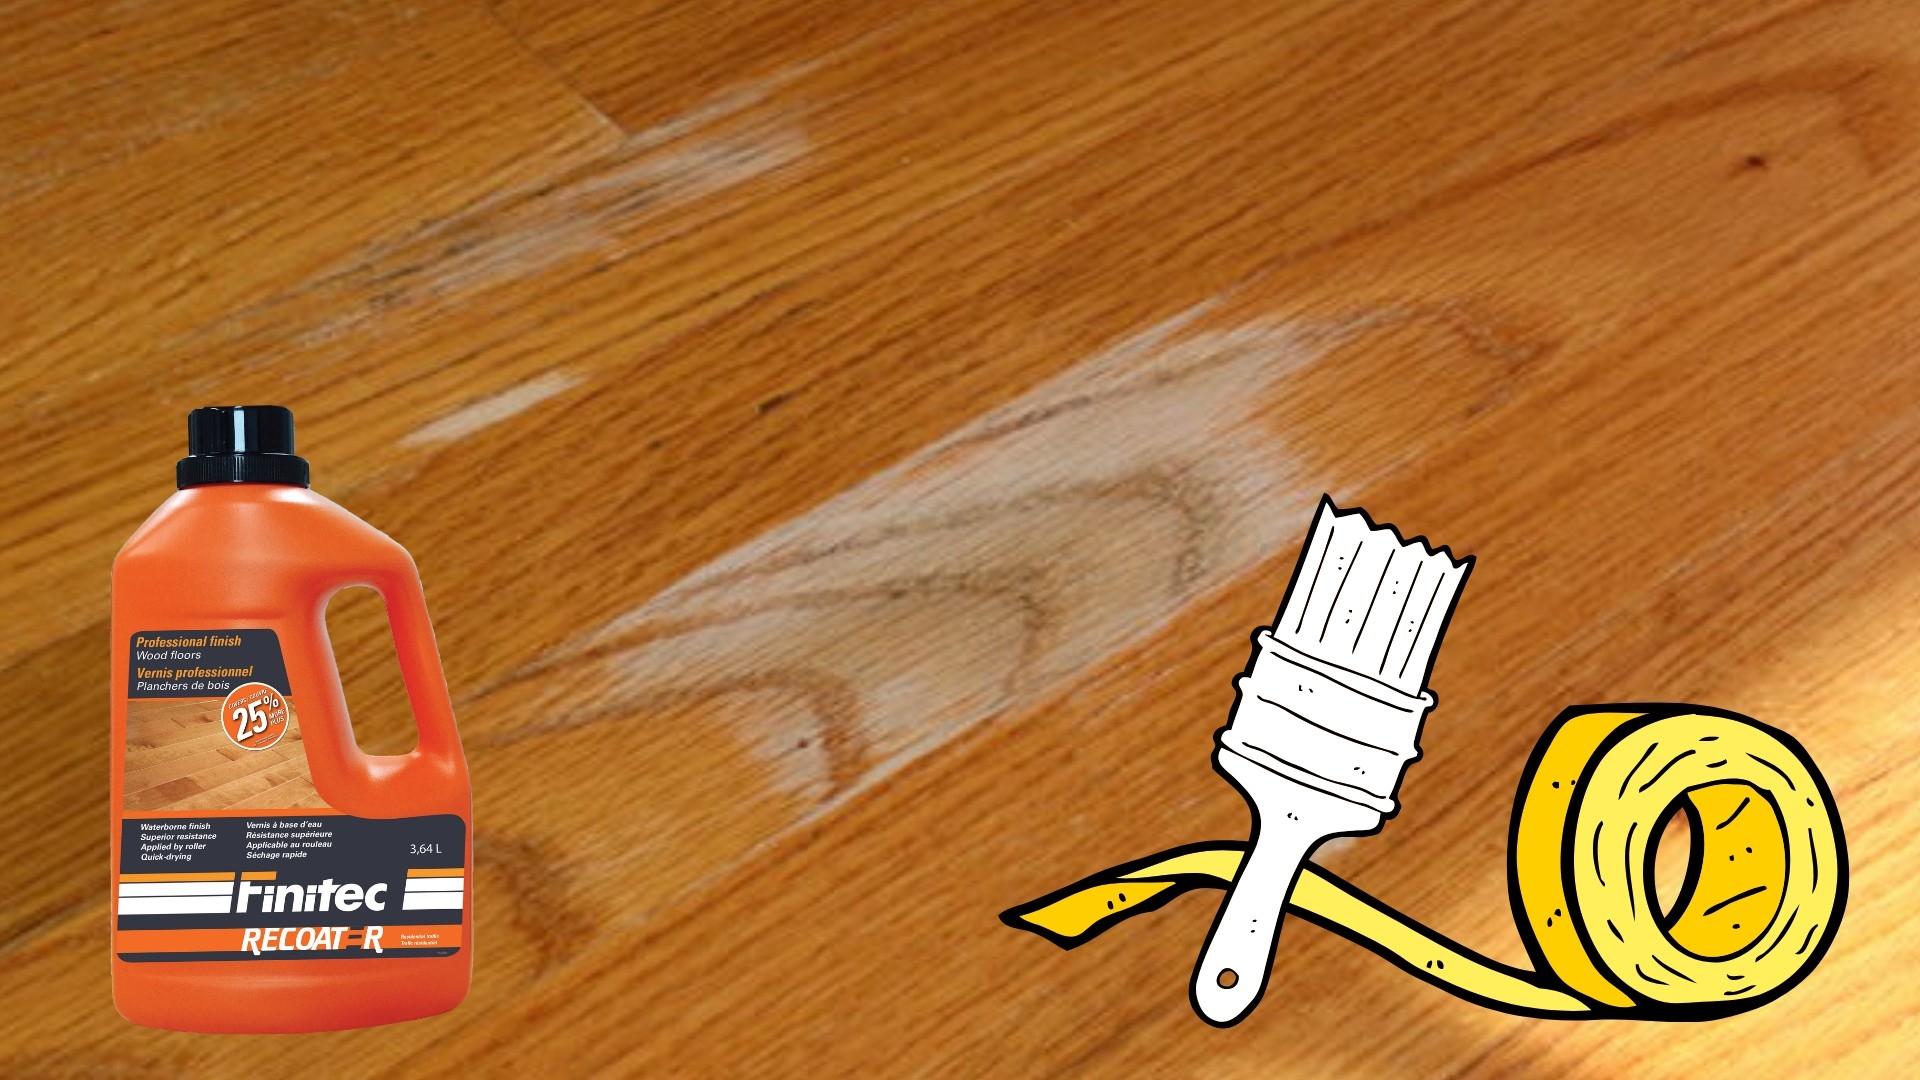
2- Identify the section that needs to be finished with a masking tape.
Try to follow your floor’s line.
3- Sand slightly your section with a 120-grit sanding paper and then vacuum.
4- Apply a coat of finish with an applicator, a 10mm lint free roller or with a synthetic silk paint brush if the area is quite small.
Immediately remove your masking tape before the finish dries.
Make sure you apply a coat of finish thick enough. Avoid stretching it. If you choose one of our products, please note that it is conceived to be self-levelling and to do so it needs to have enough varnish.
If you see applicator, paint brush or roller marks once the varnish is dried, that means that there was not enough product and that it dried too fast. No problem. Just start over from step 3 to correct this small issue.
5- If you want, you may apply a second coat of finish. You only have to repeat step 2 and 4. Only if applied in less than 12 hours. Otherwise, you need to restart and do step 2 and 3 with a thinner sanding paper, so a 180-grit to slightly un-polish and finish with step 4.
6 – For the maintenance of your wood floors, make sure you use a cleaning product conceived to preserve your floor and that will keep it from premature wear of your varnish.
Voilà! In a jiffy, your small dull section looks brand new.
To receive more tips and tricks, subscribe to our blog on the top left section of this page.